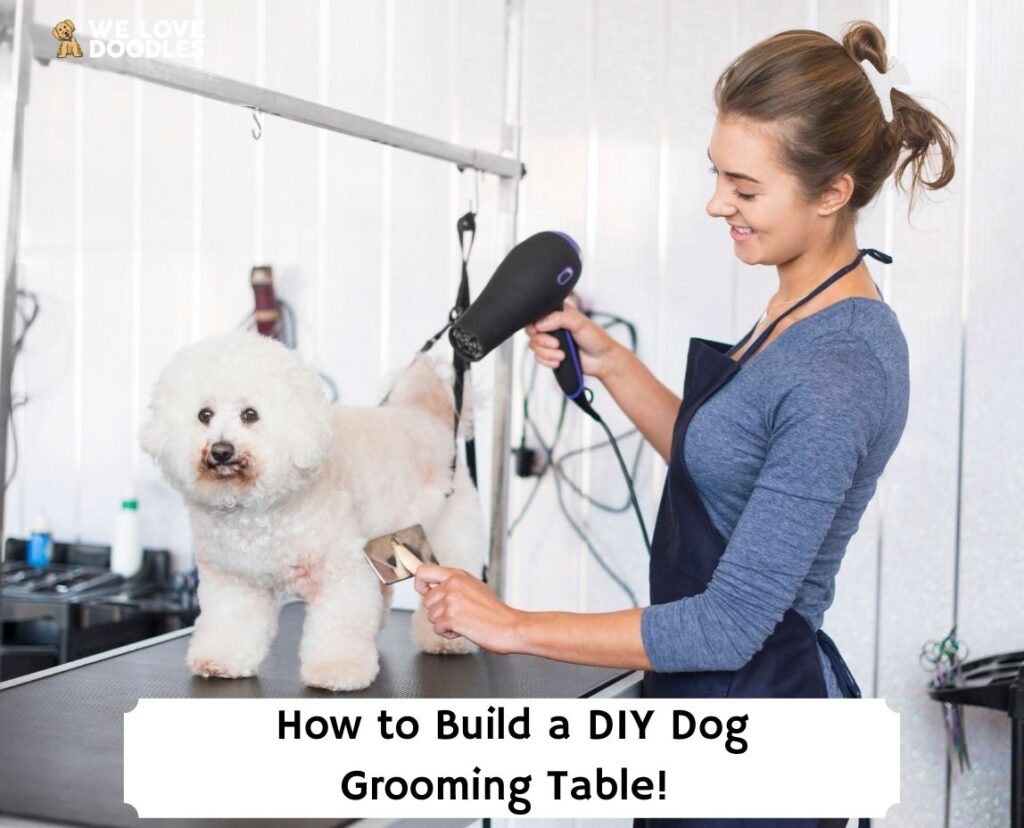
Whether you’re tired of sinking money into your dog’s groomer or you’re excited to test out your artistic skills with grooming your dog, building a DIY dog grooming table is an excellent option.
A groomed dog is a healthy dog. Matted fur can cause improper circulation across the skin, infection, scabs, and many other problems. Some breeds require grooming more often than others, but it’s important for every breed. Making the grooming process easier for you with a dog grooming table will keep your dog healthy.
Sending your dog for grooming, or even purchasing a grooming table, can be expensive. Luckily, there are several ways to build a grooming table. This article covers DIY folding grooming table, how to make a DIY grooming arm, and more.
I’ll share four DIY grooming tables that range from easy to build to sturdy enough for your overweight Great Dane.
We also highly encourage you to check out this video since this was the easiest DIY grooming that we built and it comes with a video.
Other articles you would like: Best Dog Grooming Scissors and Best Dog Grooming Tub.
DIY Folding Grooming Table

Folding grooming tables are perfect if you are short on space. Plus, folding tables are cheap. You may even have an extra one lying around.
Materials
To build a folding grooming table for your dog, you will need:
- (1) Folding table strong enough to support your dog (must include a 5-inch flat area under the top edge where you will secure the grooming arm)
- (1) grooming arm that will reach the top of your dog’s head whether he sits or stands
- (2) clamps (if grooming arm doesn’t come with clamp)
- Anti-slip shower decals
- (1) leash
Instructions
- Fasten the grooming arm to the table using the clamps.
- Peel off the anti-slip shower decals and stick them onto the surface of the folding table where your dog will stand.
- Loop the leash securely around the grooming arm or the table once your dog is on the table.
- Place the table somewhere your dog can step onto it without assistance, especially if he is a large dog.
Easy DIY Dog Grooming Table With Grooming Arm

You don’t need elaborate grooming table plans or carpentry experience to build a DIY dog grooming table. Instead, with a few everyday materials and less than $100, you can be on your way to an easy-to-make foldable table.
To get started, purchase or gather the following materials from around your home:
- Foldable table or Wood square (we’ll talk more about sizing at the end of this article)
- PVC pipe (measured to fit the height of your dog, plus a few inches above them)
- PVC elbow (also called Charlotte pipe, to fit the size of the PVC pipe)
- Eyelet
- 3 Mounting brackets (small, bent corner brace) (a 4th bracket may add security if there’s room on the 2 x 4 for a fourth bracket)
- Piece of wood (2 x 4)
- 6 Screws
- 4 Clamps
- Rubber mat
Take the 2 x 4 piece of wood and cut it to the width of your table. Then, cut the PVC pipe into two pieces, forming a 95-degree angle with a coupling. Drill an eyelet into the top part of your PVC grooming arm.
Next, prepare to attach the 3 mounting brackets at 3 points around the PVC pipe to secure it. In the middle of the 2 x 4, use a pencil to draw an outline of the PVC pipe. Make 3 marks evenly around the PVC pipe to determine where to set the brackets. Attach one mounting bracket next to its mark. Put the PVC pipe against the bracket to check the spacing, and make a new mark for the next bracket if necessary. Repeat this step for the third bracket to make sure the PVC pipe fits into the circle.
Put the PVC pipe into the circle of brackets and attach it to each. The PVC pipe should be secure and thegrooming arm is ready to go.
Next, take two clamps and secure the wooden base of the arm to the far edge of the table.
The last step is to lay a rubber mat on top of the table. That way, your dog won’t slide around when you’re grooming them. Then take two more clamps and clip the rubber mat to either side of the table to hold it in place.
The beautiful thing about this grooming table is that you can quickly disassemble the table from the arm so that you can go back to using your table for your everyday needs.
That said, this DIY grooming table isn’t an ideal option for large dogs. It’s relatively flimsy, so you can expect your large Fido to break away from it if they get moving around.
DIY Dog Grooming Arm

This DIY small dog grooming arm is similar to the above DIY dog grooming arm, but the PVC pipe arm is attached using an outdoor light cover instead of mounting brackets.
Materials
- (1) Piece of wood (long enough to clamp down onto table)
- (1) Outdoor light cover with 1/2 inch opening
- (1) 3-inch-long pipe nipple with ½-inch threads
- (1) Female ½-inch bushing
- (1) Male ¾-inch bushing
- (2) PVC pipes (measured to fit the height of your dog)
- (1) PVC pipe cutter or hack saw
- (1) ¾-inch PVC elbow
- (1) Eyelet
- PVC cement glue or screws
- (1) Drill
- Channel locks
- 2 Clamps large enough to clamp the arm to a table (measure the depth of the lumber, plus the table thickness with a little extra room to get them on and off)
Instructions
- Place the outdoor light cover onto the piece of wood.
- Put the pipe nipple into the opening of the outdoor light cover.
- Connect the bushings on the ¾ male side.
- Thread the ½-inch female side of the bushings into the pipe nipple.
- Drill the outdoor light cover into the piece of wood.
- Use the channel locks to turn the pipe nipple and bushings as much as possible to secure them.
- Stick one PVC pipe into the bushing.
- Fasten the PVC elbow into the PVC pipe.
- Drill a hole for an eyelet into the other PVC pipe.
- Insert the second PVC pipe into the PVC elbow.
- Put the eyelet through the pre-drilled hole in the PVC pipe.
- Use cement glue or screws to secure the PVC pipes into the PVC elbow and bushings.
For visual instructions, watch this DIY grooming arm video.
DIY Dog Grooming Table for Small Dogs

Owners may find that tables designed for large dogs are hazardous for small dogs. When small dogs have too much space to move, they can injure themselves.
For a more accurate fit, try this DIY dog grooming table for small dogs. It is designed with a 2-foot by 3-foot surface for small dogs.
Materials
For this project, you will need:
- (1) ½” x 2’ x 4’ oak plywood
- (1) roll of anti-slip rubber surface. Use Kobalt brand truck box mat.
- (1) Elmer’s spray adhesive
- (4) ¼” x 1-½” machine bolt and nuts
- (4) 1” washers that match the bolts
- Black and Decker Workmate (small portable workbench for base)
- A weight for stability, such as a landscaping brick
- Saw
- Drill with ¼” bit
- Utility knife
- Crescent wrench
Instructions
- Cut the plywood so that it is one foot shorter.
- Drill 4 holes into the workbench – this will be to attach the board to the workbench.
- Flip the board and workbench. Place the workbench in the center of the board. Trace around four pre-drilled holes to mark where you will need to drill.
- Drill the marked holes.
- Flip the board back over.
- Cut the truck box mat (anti-slip). It should fit onto the grooming surface.
- Push the bolts up from the bottom of the board. Score the mat using the utility knife. The bolt should pass through.
- Take out the bolt. Insert it from the top. Add the washer. Tighten the nut.
- Repeat steps 7 and 8 for the rest of the holes.
- Attach the grooming arm. You can buy one or build your own with the instructions below.
- Place scrap metal across the horizontal braces. Add stability weight.
DIY Dog Grooming Table for Large Dogs

Large dogs can be very challenging to groom, and the process can take a long time. DIY dog grooming tables are great solutions for large dogs because they ease the strain on owners’ backs and provide the dog with a comfortable place to wait. If you have a large breed, you’re no doubt wondering—how do I build a large dog grooming table?
We highly recommend that you check out this video.
It’s almost always better to build a grooming table for large dogs with wood since it’ll hold 100+ pounds. So, head to your favorite place to buy lumber and stock up on the following:
- Table legs: One 4 x 4 x 8 pressure treated post
- Arms: One 2 x 4 x 8 pressure treated 2 x 4
- Top: Two 12-foot pressure treated deck boards
- Frame: Two 2 x 6 x 10 pressure treated 2 x 6
- Wheels: Two to four Caster wheels or two 6″ lawnmower wheels
- Grooming Arm: Premade or make with copper pipe
Cut the post into four parts with the back two legs shorter to accommodate wheels that you’ll be attaching to them (your grooming table will be heavy, so you’ll need them).
Then, cut the frame wood according to the table size of your preference. Since you have a large dog, 48 x 24 inches is likely best. Using screws and a screwdriver, screw the frame to the legs.
Next, cut the deck boards according to the size of the frame. Secure them with screws at an even spacing apart of your choice before using the 2 x 4 to cut the arm height according to your dog’s height.
From there, cut a 1 ¼-inch hole and place copper piping across the two arms on either side of the frame. That’s what you’ll use to attach your dog’s leash. Finally, screw on a wheel to either side of the back of the table legs, and call your pooch over to give them their first bath.
Check out for more: How To Build a Doghouse Under Stairs.
Inexpensive DIY Small Dog Grooming Table

One of the best ways to make a cheap DIY dog grooming table is by using an old wooden table around your home. Don’t have one? No worries—head to a consignment shop or find a used table online.
The trick will be to ensure the table will comfortably fit your dog. You also want to check for splinters, cracks, and other weak spots. The last thing you want is your dog becoming afraid of grooming because of a table injury.
The only tools you need to make this table are a staple gun and the staples to fill it.
You’ll likely need to make a trip to the hardware store, though, for you’ll need 15 mm of the following:
- Copper wall plate elbow
- Copper pipe
- Compression elbow
- Saddle pipe clips
Furthermore, you’ll need four carpet tiles, self-tapping screws, some machine nuts and screws, and 18×69 of planed timber.
If you’re a savvy carpenter, you can likely picture how all these pieces will fit together. Use the wall plate elbow and attach it to the table runner with screws. Next, measure the copper pipe to your dog’s height for a DIY grooming table arm. Attach this arm to the compression elbow.
At the end of the pipe, add the saddle pipe clips for securing your dog to the table.
Then, flip the carpet tiles upside down so that the rubber faces up. Using your staple gun, secure the tiles to the surface of the table. And just like that, you have a small grooming table for your dog.
Feel free to check out this video for more information.
DIY Metal Dog Grooming Table
If you have welding experience and the tools, you can build your own dog grooming table by using metal pipes as the table stands.
For starters, you’ll need to select two plastic containers that you’ll pile up, one on top of the other. Ideally, these containers will sit at a height that’s comfortable for you to groom your dog. They should also be wide and long enough to accommodate your dog’s size.
Then, using the plastic containers as a base, create the metal frame for your table with pipes. You’ll need to weld four square pipes for the legs and another set of four pipes that will sit on top of the legs in a rectangular frame.
With your frame complete, you now have the option to attach a plastic or wooden top to the metal. If you’re working with a small dog, plastic should be fine.
But if you have a larger dog—or simply like the aesthetics of metal and wood together—go all out and install a wooden top.
From here, you can weld a grooming arm and attach it to the table. Doing so is ideal for larger dogs, as it’ll hold up better if your pooch gets fussy when you groom them.
What Size Should a Grooming Table Be?
Now that you know how to make a DIY dog grooming table, it’s important to size your table accordingly. If you visit a professional groomer, their tables are likely 18 – 24 inches wide and 30 – 48 inches long.
You’re going to need those full 48 inches if you own a large breed like a Saint Bernard. But if you own a toy poodle, there’s no need to waste all that space in your home.
So, build your grooming table so that your dog can comfortably stand and sit on it without falling off.
Taking your dog’s weight into consideration is also crucial—a foldable plastic table will hold your chihuahua, but you’ll want a wooden or metal table for your golden retriever.
Are You Ready to Groom Your Pup?

Is there anything more satisfying than building a DIY dog grooming table and being your dog’s personal groomer? DIY dog grooming tables give you the freedom to customize your experience. Dog grooming is exhausting for you and your dog, but the right table can make all the difference.
Grooming will be much simpler once you have a comfortable table for your dog that raises him to the appropriate level for you. Plus, you can build these tables on a budget, especially if you already own some common supplies.
Routine care for your dog will take a toll on your wallet. However, with a little commitment and hard work, you can build the perfect DIY dog grooming table that will reduce the cost of grooming.
Now all that’s left to do is purchase grooming supplies and give your pooch their first at-home grooming.
If you find this guide, “DIY Dog Grooming Table: A Step-By-Step Guide,” helpful, you might also like:
Garrett loves animals and is a huge advocate for all Doodle dog breeds. He owns his own Goldendoodle named Kona. In addition, he volunteers at the Humane Society of Silicon Valley, where he fosters dogs and helps animals. Garrett enjoys writing about Doodles and believes that dogs can teach humans more about how to live than humans can teach a dog.
Why Trust We Love Doodles?
At We Love Doodles, we’re a team of writers, veterinarians, and puppy trainers that love dogs. Our team of qualified experts researches and provides reliable information on a wide range of dog topics. Our reviews are based on customer feedback, hands-on testing, and in-depth analysis. We are fully transparent and honest to our community of dog owners and future owners.